How to Do 3D Rendering for Interior Design?

To do 3D rendering for interior design, start by drawing the floor plan (you can import an existing one). Then apply wall and flooring materials, furnish and decorate the rooms by selecting 3D objects from the catalog, and customize dimensions, colors and textures as needed. You can also configure lighting (sun orientation and artificial lighting). Then generate a photorealistic image in less than 5 minutes.
- Create or import the floor plan. Either draw the floor plan from scratch or import existing architectural drawings. Set up the ceiling height, the slab and the finished floor thickness. When all dimensions and wall positions are correct, you can select, place and customize the doors and windows.
- Apply materials and textures. Select and apply materials to every surface: flooring (plank, tile, carpet, concrete), wall finishes (paint colors, wallpaper, brick, stone).
- Furnish and decorate. Select and place furniture, fixtures, appliances, lighting, artwork, rugs, and decorative accessories from a 10,000+ built-in design catalog. For contractors who want speed and simplicity, grouped product packs let you furnish the interior in a few clicks. For interior designers who want to select and customize each piece of furniture, you can modify every item’s dimensions, color and texture. The goal is to create a scene that feels lived-in and helps the client emotionally connect with the space.
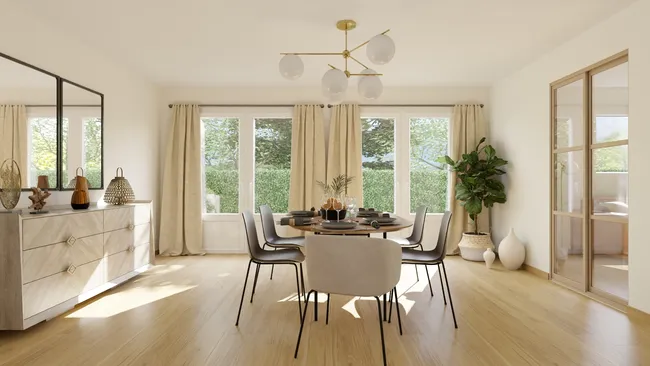
- Set up lighting. Lighting is what separates a mediocre rendering from a photorealistic one. Configure natural light sources (like windows & skylights) based on sun orientation, then add artificial lighting (recessed lights, pendants, floor lamps, sconces, etc.). Adjust color temperature, which has an effect on shadow intensity, to create the desired atmosphere.
- Choose camera angles. Select viewpoints that best showcase the design. Common angles include eye-level views that mimic how someone would see the room in person, corner views that capture most of the room in a single frame, and detail shots of key features like a kitchen island or fireplace wall. You can save the view points and try other layouts or furnishing options to compare them easily.
- Select a background image and time of day. Choose a background image that sets the mood for your exterior renderings. You can select between daytime and sunset atmospheres, which dramatically affect the overall feel of the image. A daytime background highlights clean lines and material details. A sunset setting creates a warm, inviting ambiance that resonates emotionally with clients thanks to the warm natural light combined with exterior lights you can turn on.
- Generate the rendering. Run the rendering process, which converts the 3D model into a photorealistic image. Rendering time varies depending on the software and quality settings. Cedreo produces renderings in less than 5 minutes. You can carry on working on your project while your rendering is generated.
3D rendering has become an essential skill in interior design. It dramatically speeds up client approvals, reduces miscommunication, and helps designers win more projects by presenting ideas in a format that clients can instantly understand and get excited about.Read this article to get the best tips to create the perfect interior renders.