How to Draw House Plans with Cedreo
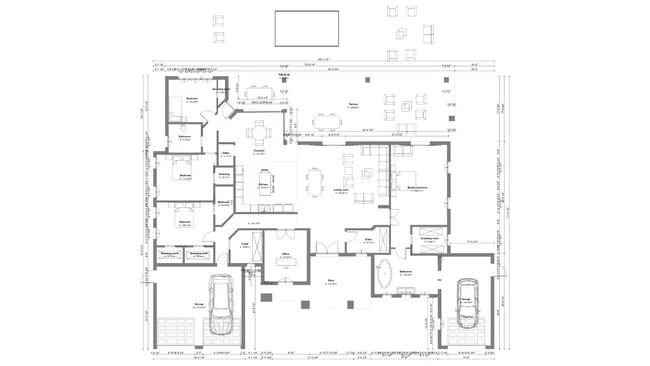
To draw house plans with Cedreo, use the continuous wall drawing tool to outline the house structure and room layout. Then add doors and windows from the built-in library and finally add the roof. Cedreo provides all the tools needed to create detailed 2D floor plans, site plans, electrical layouts, cross-sections, and elevation drawings from a single cloud-based platform.
Before you start drawing, check local zoning regulations, setback requirements, and building codes for the project site. Gather any existing floor plans, site surveys, or client requirements. If you have an existing plan, you can import it directly into Cedreo in JPG, PNG, PDF, DWG, or DXF format and trace over it. You can also import a survey plan to model the terrain accurately.
- Create exterior walls. Open a new project in Cedreo and use the continuous wall drawing tool to outline the home’s perimeter. Click to place corners and Cedreo automatically snaps walls to right angles using its smart magnetism feature. Dimensions appear and update in real time as you draw. You can set specific wall thickness and type (load-bearing or partition, insulated walls from inside or outside) from the properties panel.
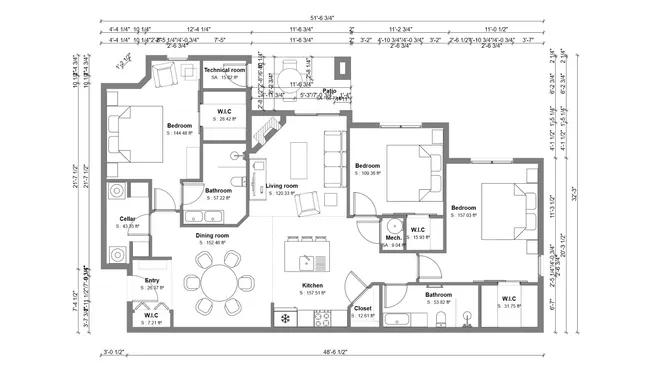
- Add interior walls and rooms. Draw interior partitions to define individual rooms. Cedreo automatically detects enclosed spaces and lets you assign room names and types (bedroom, bathroom, kitchen, etc.). The software calculates habitable, usable, and total floor areas automatically, which saves time on surface area reports.
- Place doors, windows, and stairs. Drag and drop doors and windows from the built-in library directly into your walls. Choose from various styles (sliding, French, casement, bay windows, etc.) and customize dimensions, colors, and materials. Add staircases to connect multiple levels, Cedreo supports up to 6 stories including the basement.
- Create additional levels. Duplicate your ground floor plan in 1 click to create upper stories with an identical footprint. Then modify the layout for each level as needed. This ensures perfect alignment between floors while saving time on repetitive drawing.
- Add the roof. Choose from automatic roof generation options (gable, hip, shed, flat, with a valley or not) or draw a custom roof manually. Select roofing materials and colors from the library (such as skylight windows, dormers, etc.) and the roof appears instantly in the 3D view.
- Create a complete set of plans. Beyond the basic floor plan, Cedreo generates several additional plan types from the same project. Site plans show the home positioned on the lot with property boundaries, elevation, setback lines, driveways, and landscaping. Electrical plans use standard U.S. electrical symbols for outlets, switches, and fixtures. Cross-sections reveal vertical details like ceiling heights, stair placement, and level transitions. Elevation drawings show the exterior from every angle with material callouts. All plans update automatically when you modify the design.
- Export and share. Export your completed plans in common file formats for printing and sharing with clients. Cedreo also lets you compile all plans and renderings into branded presentation documents.
The entire process of drawing a complete set of house plans typically takes about 2 hours in Cedreo. Revisions are fast because changes to the 2D plan automatically update all associated views, including the 3D model, cross-sections, and elevations.