Transforming an unused attic into a functional living space is a savvy way to add value to a home. Whether it’s for a guest room, home office or play area, a finished attic can meet various needs.
In this guide, we’ll walk you through the process of how to finish an attic, from average costs to potential resale value, key considerations and step-by-step instructions to ensure your next attic renovation project is a success.
Let’s start with a quick overview of the average cost to finish an attic.
How Much Does an Attic Renovation Cost?
The cost of an attic renovation can vary significantly based on the scope of the project and the materials used.
Here are some average costs:
- A basic attic remodel in the United States might cost between $10,000 to $20,000. This includes installing insulation, basic electrical work, drywall and inexpensive flooring.
- For a mid-range project, including plumbing for an additional bathroom, custom-built storage solutions and upgraded flooring, you might expect to pay between $20,000 and $40,000.
- High-end renovations with top-of-the-line finishes, skylights and extensive structural changes, can run upwards of $50,000.
Will Converting an Attic Add Resale Value?
From a real estate perspective, finishing an attic can significantly enhance a home’s resale value. According to a recent report from the NAR (National Association of Realtors) homeowners can recoup approximately 75% of their investment in an attic to living space conversion.
Real estate agents often highlight that an attic renovation not only increases the livable square footage but also adds unique appeal to potential buyers.
Things to Consider Before You Start Converting
Before diving into how to finish an attic, it’s important to evaluate several factors that ensure your project meets your clients’ functional and aesthetic goals.
- Structural Integrity: Ensure the attic floor can support the additional weight of furniture and occupants. You may need to consult with a structural engineer or architect.
- Building Codes and Permits: Verify local building codes and obtain necessary permits. These regulations can affect aspects like ceiling height, egress windows and staircases.
- Insulation and Ventilation: Proper insulation is critical to make the space comfortable year-round. And it’s also important to ensure adequate ventilation to prevent moisture build-up and potential mold issues.
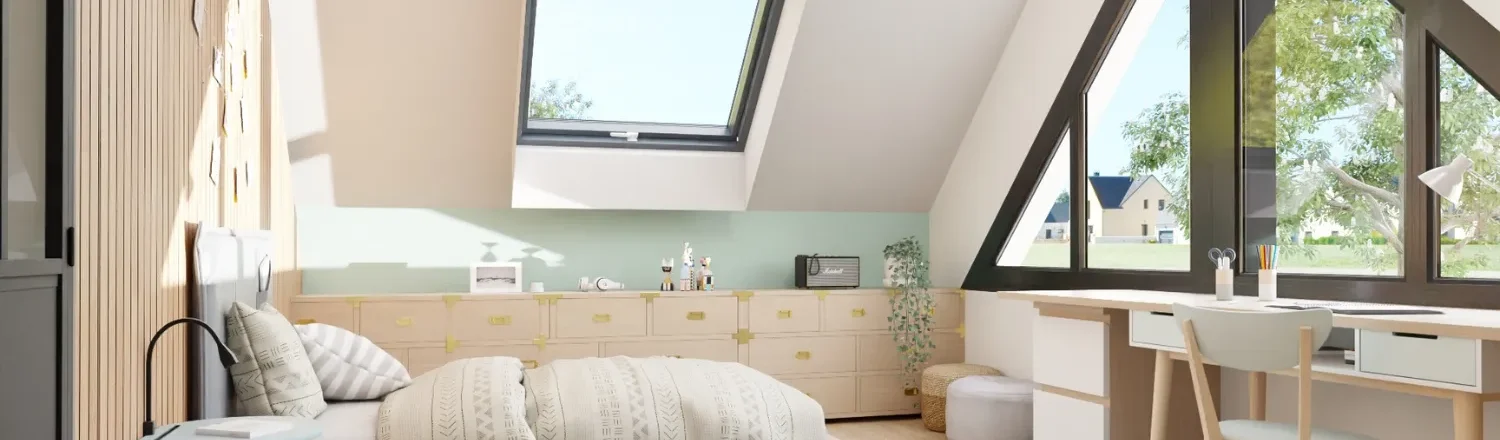
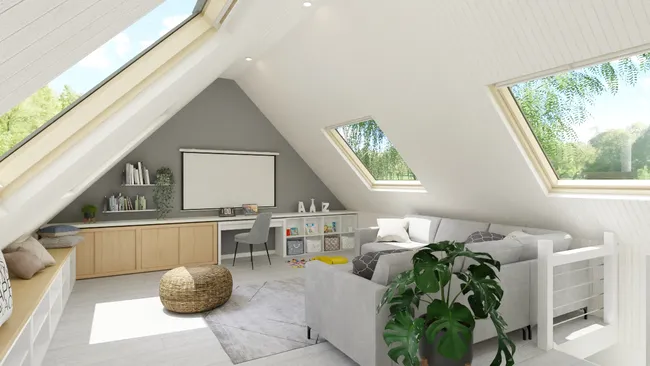
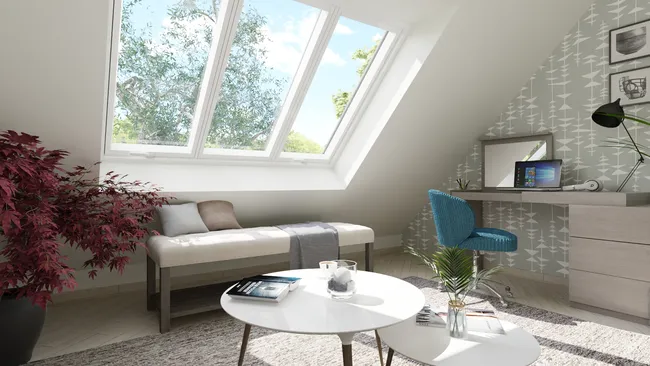
- Natural Light: Consider installing dormer windows or skylights to increase natural light so the space is more inviting.
- Accessibility: Evaluate the existing stairway. It must be safe and meet code requirements. You might need to install a new staircase or modify the existing one.
- Electrical and Plumbing Needs: Plan the layout considering the need for electrical outlets, lighting and plumbing (if adding a bathroom).
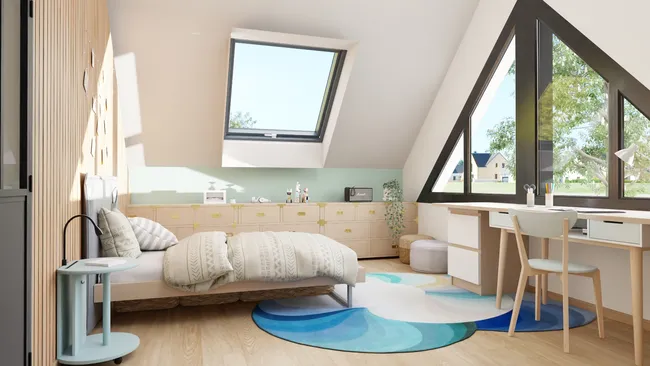
- Purpose of the Space: Discuss with your clients how they intend to use the attic. This will guide decisions on layout, storage solutions and finishes.
PRO TIP! – Working with clients on an attic finishing project involves a lot of back and forth communication and design edits. That’s why more and more housing pros use intelligent 3D home design software like Cedreo. With Cedreo, you can quickly create and edit detailed 3D floor plans and attic designs. And its realistic 3D renderings streamline client communication so you and your clients can make faster design decisions.
How To Finish an Attic – Step by Step
Converting an attic into a livable space involves several key steps. Here’s an overview of the basic process. Just keep in mind that the specific steps may vary based on your project’s unique needs and existing attic conditions.
1. Reinforce the Floor Structure
Before doing anything else, it’s crucial to ensure the floor joists can support the weight of a finished attic. Attic joists are often designed for lighter loads, such as insulation and drywall for the ceiling of the floor beneath. Simply installing OSB or sheathing over existing joists isn’t sufficient and can lead to structural issues.
That’s why it’s important to consult with an architect or structural engineer to evaluate the existing conditions.
They might recommend solutions such as:
- “Sistering” new joists alongside the existing ones to add strength
- Installing additional joists between the current ones
- Using engineered lumber like LVL (laminated veneer lumber) or I-joists
Proper reinforcement ensures the finished attic can safely handle the added weight of furniture, occupants and any other features you plan to include.
2. Frame Walls & Ceilings
Framing the walls and ceilings of an attic creates a sturdy “skeleton” for the finished space.
- Use lightweight materials to avoid overloading the attic’s structural supports.
- Low or sloped areas may need creative solutions, such as knee walls, to maximize usable space.
- Plan for openings like windows, skylights and access doors.
3. Wire the Attic with Electricity
When wiring an attic, consider the space’s unique challenges, such as limited accessibility and the need for additional outlets.
Attics often require specialized lighting solutions due to their layout, such as recessed lighting, track lighting or skylight-integrated lighting. These solutions address the often low or sloped ceilings and uneven lighting conditions.
Consider how the space will be used to ensure circuits aren’t overloaded and plan for future electrical needs.
4. Extend Plumbing Lines
Adding plumbing to an attic can be a complex process depending on where existing drains and vents are located and the size of floor joists. .
- Consult with an experienced plumber and plan the layout carefully to minimize the distance water and waste need to travel.
- Consider the location of existing plumbing lines.
- Use PEX tubing for easier installation and flexibility in tight spaces.
5. Add Insulation
Proper insulation is crucial for making an attic comfortable and energy-efficient.
- Choose between fiberglass batt, spray foam or rigid foam insulation based on the space’s needs.
- Ensure all gaps are sealed to prevent air leaks.
- Consider spray foam insulation for its superior air-sealing properties and higher R-value.
6. Hang and Finish Drywall
After insulating the attic, the next step is to hang and finish the drywall. Pay special attention to the attic’s unique angles and tight spaces, which may require challenging cuts and careful fitting. Once the drywall is in place, tape the seams, apply joint compound and sand to a smooth surface that’s ready for painting.
7. Install Lighting and Other Electrical Finishes
Once the drywall is up, it’s time to install lighting and other electrical finishes. Given the unique layout of attics, consider recessed lighting or track lighting to save space and provide ample illumination. Ceiling fans can also be a great addition for both lighting and air circulation, just make sure you have adequate headroom.
PRO TIP: Use LED lighting to reduce heat output and energy consumption, which is especially beneficial in smaller attic spaces.
8. Install Flooring
Choosing the right flooring for an attic involves balancing weight, durability and aesthetics. Lightweight options like laminate, engineered wood, carpet and LVT are ideal. Don’t forget to make sure the subfloor is even and secure before installation.
PRO TIP: Use underlayment with soundproofing properties to minimize noise transmission to the floors below.
9. Get Creative with Paint and Furnishings
The finishing touches make the attic a truly livable space.
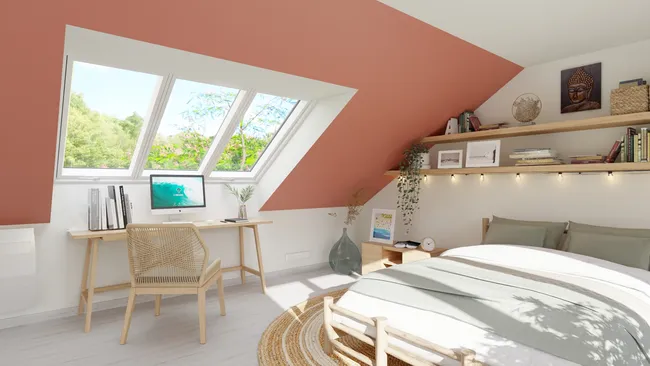
- Choose light colors to make the area feel larger and more open.
- Go with multifunctional furniture to maximize utility.
- Utilize vertical space efficiently with shelves and wall-mounted storage.
- Use mirrors strategically to reflect light and create a sense of spaciousness.
Start Designing Your Attic Today!
Finishing an attic can significantly improve a home’s value while expanding the usable square footage. But attics, with their roof angles and tight spaces, can be tricky to design. That’s where Cedreo comes in.
Cedreo combines intelligent 3D design tools with an intuitive platform that’s engineered to streamline your design process for projects like attic remodels.
- 3D Visualizations: Help clients see the potential of their attic space before construction begins.
- Time-Saving: Quickly create and modify plans to meet client needs.
- Professional Presentations: Impress clients with detailed and realistic project visuals.
Want to see how Cedreo can streamline your next project and help you land more clients?
Sign up for the FREE version today.