If you build, remodel, or design homes, you already know 3D visuals are now the go‑to sales and communication tool in your pre‑construction workflow.
Why?
Because an interior render taps into emotion and immersion.
Photorealistic images help prospects take ownership of the proposed design. They picture life in the interior, understand the layout, read the lighting, and grasp the space.
Used early in design development, a 3D interior rendering speeds decisions, reduces costly mistakes, and shortens the path to approval.
Below are six practical tips you can apply to produce interior design renderings with real business impact.
Key Takeaways
- A well‑executed 3D interior design rendering triggers emotion, helps clients project themselves into the proposed space, and elevates the perceived value of the project.
- Stage it like a real scene: layout, interior style and harmony, natural lighting, camera angles, and shadows all matter.
- Bridge the gap for clients who can’t read a floor plan or visualize the volume of an unbuilt room.
- With Cedreo, create photorealistic interior design renderings in minutes from a library of 10,000 objects and textures. No downtime during rendering, so your workflow stays efficient.
Why trust us? Here at Cedreo, we’ve got 20+ years of experience working with housing pros in the 3D home design space. We know what it takes for home builders, contractors, and interior designers to create project visuals that land them more jobs!
See How You Can Create Complete Projects with Cedreo
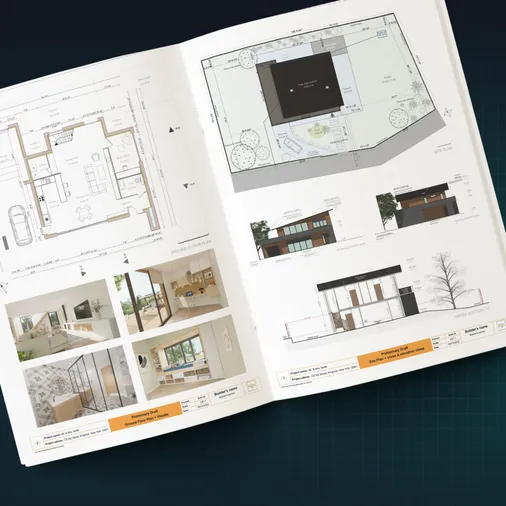
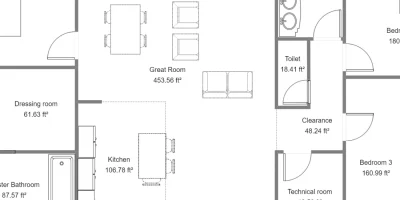
Plans – Get site plans, 2D floor plans, electrical plans, cross sections and elevation views — with all the technical details you need for a comprehensive project overview.
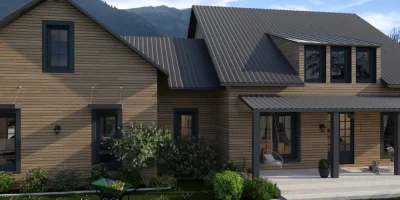
3D Visualizations – Use interior and exterior 3D renderings as well as 3D floor plans to help clients understand the finished project.
Documentation – Manage all your visual documents in one place, so it’s easier to present and sell your projects.
No credit card required, no commitment
6 Tips to Improve the Quality of Your 3D Interior Rendering
Professional designers use these rendering tips to help clients visualize interior spaces and compare design ideas.
1. Nail the Layout and Interior Design
Before you tweak camera angles or lighting, start with space planning and furniture selections. No need to spin up a full interior architecture scope, just stage a contemporary scene that makes sense for your client.
Don’t overload the room with decor. Show, don’t tell, how a few well‑chosen pieces create a harmonious interior.
Best practices:
- Match the interior style to the client’s profile and lifestyle: family, empty‑nesters, young couple, or rental investor.
- Keep visual consistency from room to room so materials, tones, lines, and ambiance work together.
- Sprinkle in “signs of life” for warmth: a throw on the sofa, a dog bowl in the entry, or a towel on the bathroom vanity. These small details make interior design renderings believable.
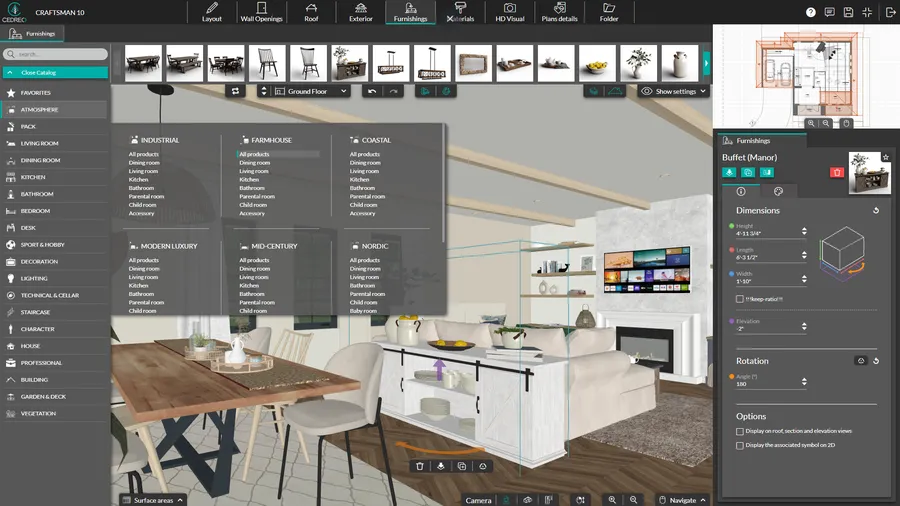
Cedreo Tip: Create multiple layout variants for the same space. With Cedreo’s library of 10,000+ objects, furnishings, and textures, you can quickly compare versions of an interior project. It’s a simple way to improve the client experience while delivering a complete service.
2. Choose the Right Camera Angle
Once you’ve picked the perfect angle, dial in the framing. Too wide and you lose the essentials with an overly general perspective. Too tight and clients lose spatial cues.
Always anchor the view with a bit of context (a wall corner, a window, or an opening to the exterior) so clients immediately understand where they are in the room.
Avoid cutting off furniture or decor elements. A clipped headboard or half‑visible bathtub breaks the photorealistic effect and feels unpolished.
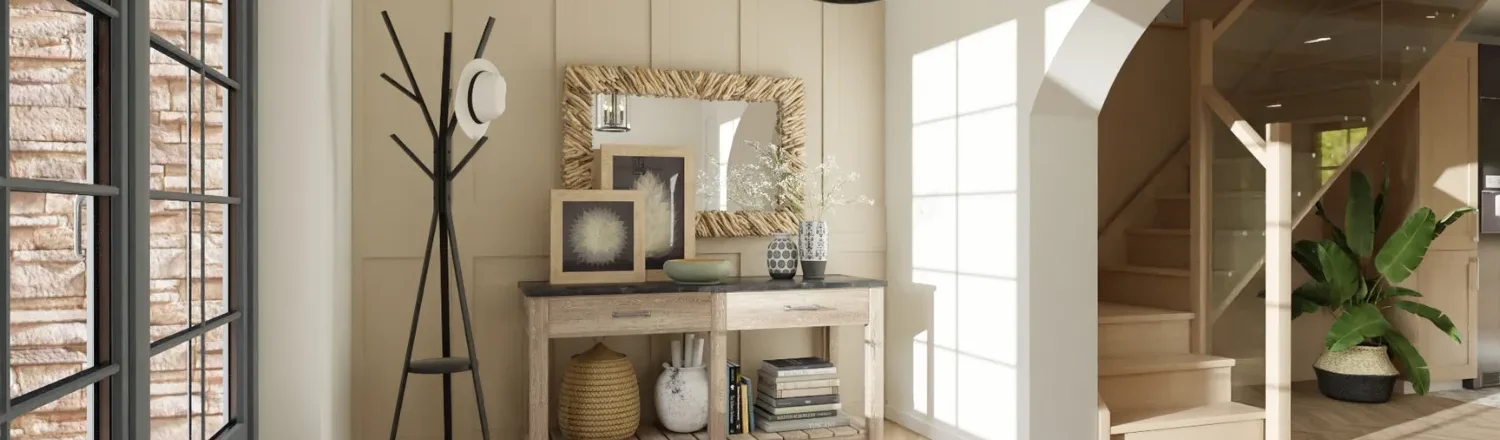
4. Create Depth: Compose Like a Photographer
Thoughtful interior decoration can spark an emotional response, but depth is what makes viewers feel like they’re actually in the room.
To add perspective, focus on two ideas: planes and a vanishing point.
How to do it in practice:
- Always build your perspective in three planes. Place an element in the foreground (plant, stool, curtain). Structure the midground with the main furniture.
Then open the background with a view (window, opening, hallway). This creates a dynamic composition that feels far more realistic than a flat view.
- Use the rule of thirds to avoid overly centered or overly symmetrical compositions. Place key elements slightly off‑center for a natural, photo‑like result. For example, in a bathroom, don’t park the bathtub dead center.
- Create a natural vanishing point, such as French doors opening to a garden (not a blank white backdrop), stairs that invite movement, or an opening to another room.
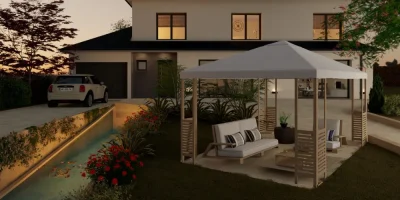
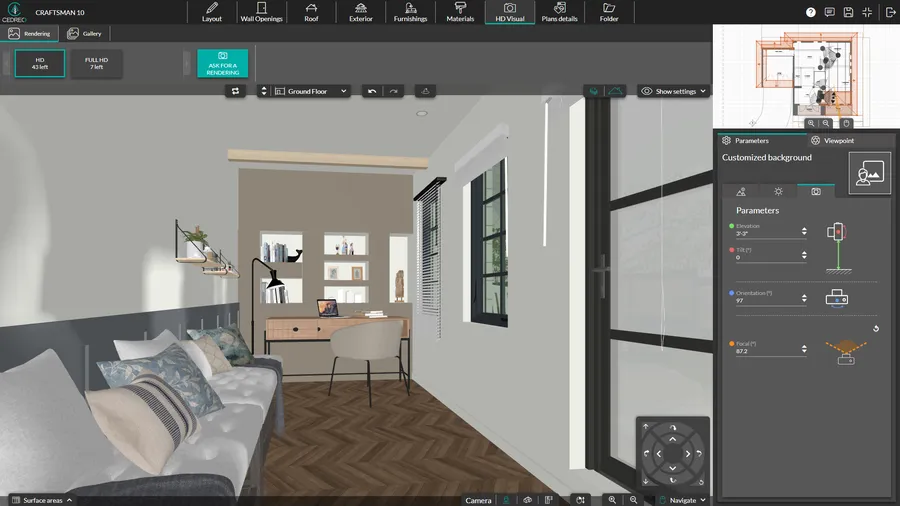
To add depth outdoors, Cedreo includes backdrop packs (sea, mountains, countryside, or city) so you can match the landscape to each proposed design without hunting for images online.
5. Master Natural Lighting for a Realistic 3D Interior Rendering
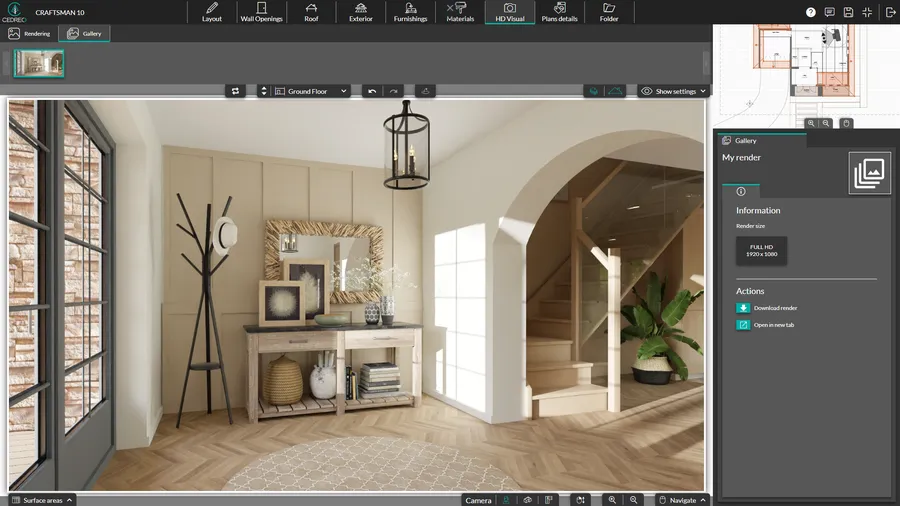
Natural light is one of the biggest value‑adds in a realistic interior rendering. It gives materials relief, shapes volumes, and brings credibility to your image.
It helps clients feel a room’s warmth and makes them want to live in the space, something a 2D floor plan can’t convey on its own.
How to use natural light convincingly:
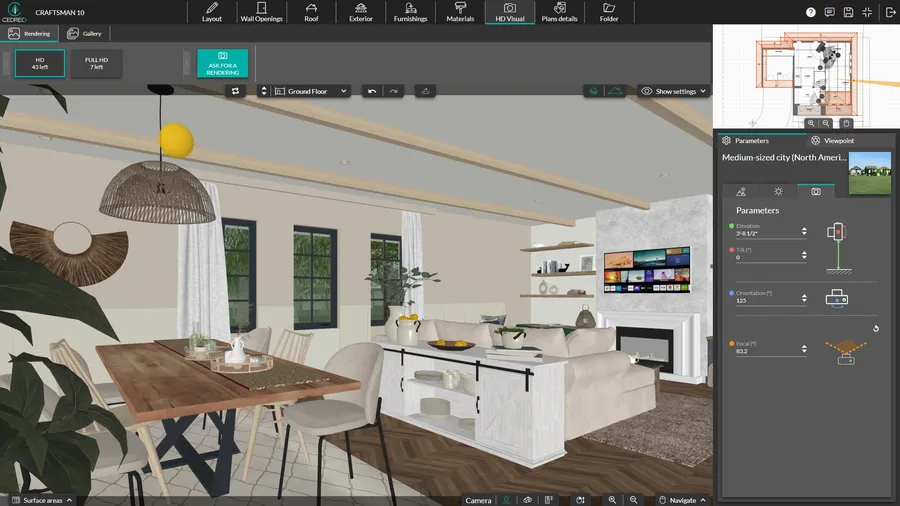
- Orient the sun according to the project’s real geolocation. Cedreo lets you easily adjust sun position to simulate different times of day and lighting conditions.
- Use vegetation or sheer curtains to generate soft shadows for a calmer ambiance and more realism.
- Refine transparency and reflections on glazing and mirrors to increase depth and rendering quality.
Example: Modeling a primary suite facing east? Create a sunny morning ambiance so clients can preview daily life as it will actually feel. You add lived‑in credibility to the rendering, not just a hypothetical concept.
6. Fine‑tune Artificial Lighting for Softly Lit Interior Scenes
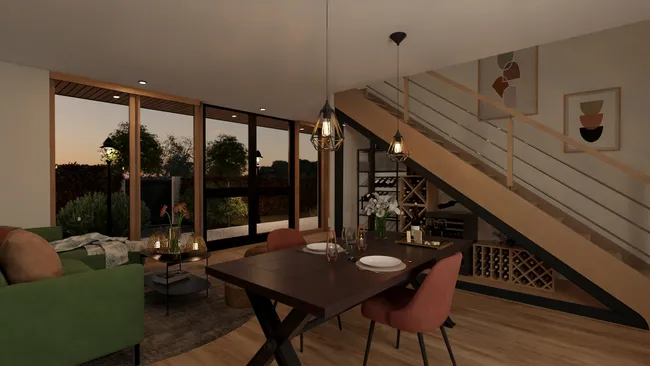
A night view or a dimly lit visual reassures clients about lighting comfort at any hour.
You demonstrate that a warm ambiance can be created even without windows. Images like these provide a very different emotional effect from a full‑sun render.
Cedreo Tip: Use the Lighting panel feature to add an ambient lighting layer on top of visible fixtures. You’ll avoid dark zones and ensure even light distribution across the room (even in low‑exposure corners) for balanced nighttime interior renderings.
A few best practices:
- Layer multiple artificial light sources: ceiling fixtures, pendants, and task lamps. The goal is a crafted lighting design that enhances perceived volume and detail.
- Avoid dark zones: even for a night render, a good balance of shadow and light makes the image more realistic and far more persuasive.
- Highlight key decor elements: draw the eye to a textured wall, a signature furniture piece, or a well‑set table so clients want to spend time in the space.
Save Time: Generate a 3D Interior Design Rendering in 5 Minutes with Cedreo
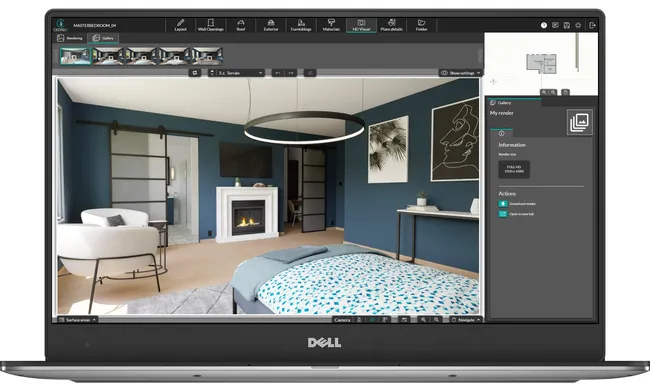
Your time is valuable. With Cedreo, you can generate a professional 3D interior rendering in under 5 minutes, and keep designing while the image processes.
Here are the features that keep your projects moving:
- Fast, full‑HD photorealistic renderings: Request a render and continue modeling, furnishing, or testing design ideas. This helps your interior project stay on track.
- Ready‑to‑use exports: Drop visuals straight into your sales presentations, marketing, pre‑design packages, or client communications.
- A comprehensive library: Build layouts from 10,000+ objects, furniture, materials, and textures organized by style, product, or ambiance. Quickly create realistic, on‑trend scenes that reflect each client’s vision.
FAQ: Everything You Need to Know About Creating a 3D Interior Rendering
From new construction to remodels, commercial spaces and hospitality spaces, rental properties, restaurants, and attic conversions…interior rendering benefits a wide range of projects for interior designers and architects. It’s especially useful for showcasing before/after transformations in a renovation or helping buyers visualize different types of design concepts before deciding on the final product.
People buy with emotion. A 3D interior render creates an instant connection and encourages clients to imagine life in the proposed space. Early on, most designers rely just on mood boards. However renderings help speed up approvals, reduce costly mistakes, and support clients who struggle to read traditional plans.
Dial in the lighting, add signs of life (plants, books, tableware, everyday objects), and favor realistic staging. Pay close attention to framing, different camera angles, textures, and depth of field for better rendering quality. When interior designers do that to generate realistic images, it helps their ideas come to life.
Cedreo lets interior designers, architects, and builders rapidly model interiors, tap into a complete library of furniture and materials, and generate photorealistic images in minutes. Everything is 100% online, no installation required. Just intuitive design technology that your team can adopt quickly.
The type of software you need for interior rendering varies depending on the project type. But for most projects, the best interior rendering software isn’t necessarily the most complex. The right tool is simple and fast. Master a few fundamentals of interior 3D modeling and you can create the photorealistic renderings every project needs to accelerate approvals, reassure clients, and showcase your expertise.
With Cedreo, you combine rapid design, high‑quality interior design renderings, and stronger client engagement.