Most home builders and architects know the mechanics of how to draw a roof, but they also know this: Drawing a roof manually is both enormously time-consuming and eye-poppingly frustrating.
What should have been a simple roof drawing takes hours or even days, and the result isn’t what you had hoped it would be. We’ve all been there.
The good news is that the advent of the internet and all the online tools that come with it has made this problem a lot easier to solve. In this post, the Cedreo team walks you through online roof drawing in nine simple steps. Read on.
How to Draw a Roof Online
House roof drawing doesn’t have to involve pens and drafting paper. With nothing more than a functional computer and internet connection, you can use Cedreo to transform drawing a roof from an annoying task to an easy one. Here’s how:
Step #1. Import or draw floor plan
You can’t complete a roof drawing without having the basic outline of the floor plan. Start by drawing a new floor plan or importing an existing one. Cedreo makes this simple. To draw a new floor plan, you can use continuous drawing mode to outline where your walls will be, clicking to create corners or angles. To import a floor plan, simply go to Layout, click Trace Image and upload your existing floor plan as a JPG, PNG, or PDF file.
Step #2. Adjust wall and room dimensions
With your floor plan drawn, you can now start tweaking the design to make sure it will fit well with the roof you have envisioned for the final product. Cedreo allows you to quickly scale room sizes down or up, as well as make simple changes on the fly.
Step #3. Select roof type
Your floor plan should now be exactly how you want it to be. Now, you’re ready to choose the type of roof you want. Here are your options in Cedreo:
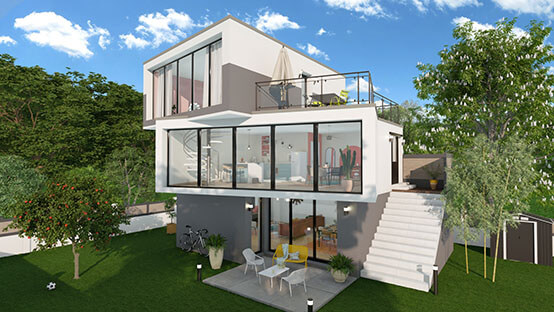
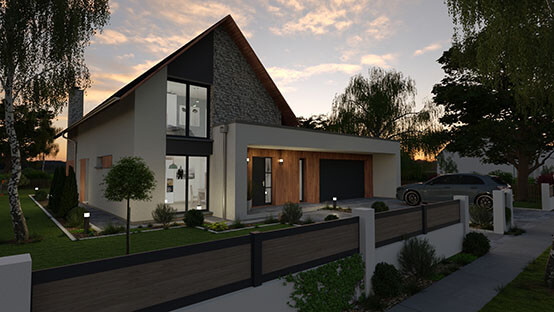
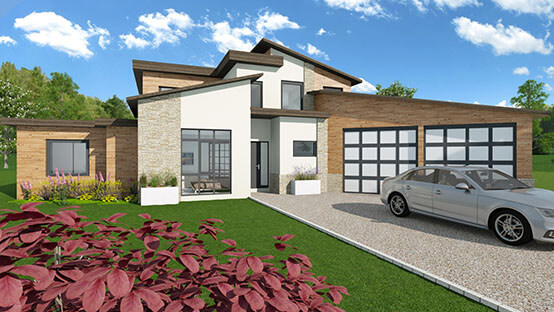
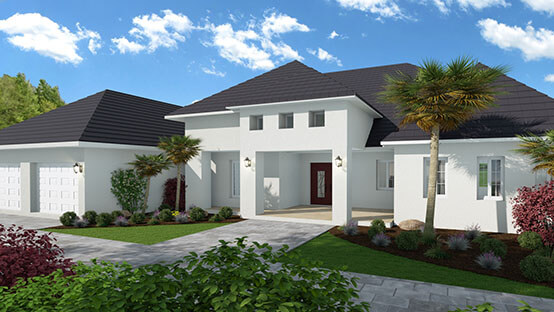
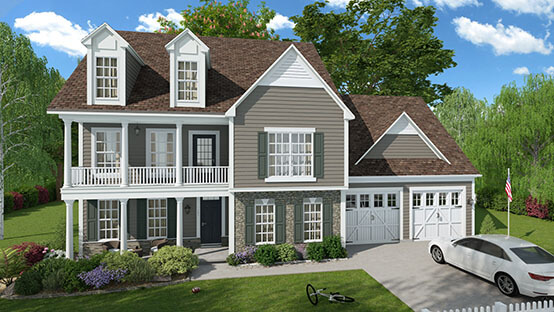
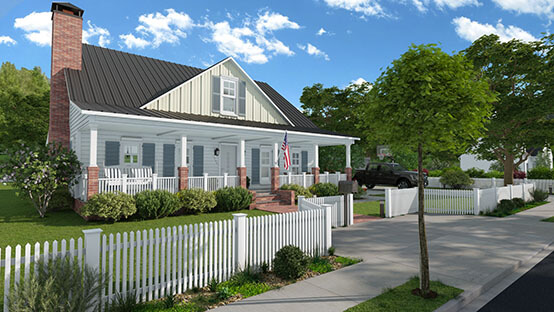
To select one of the above types of roofs, go to the Roof tab in your project dashboard. There, you will see your roof options.
Step #4. Draw roof automatically or manually
If you’re ready to be done with your design after drawing your floor plan and selecting the roof type, you can be with Cedreo. Simply click Automatic Roof Detection and let Cedreo automatically generate your roof. All you have to do is confirm that it looks good and validate it. Of course, you can always draw your roof manually with Cedreo’s intuitive roof-drawing tools if you want to.
Note: users can draw the roof in 2D and instantly view the roof design in 3D.
Step #5. Adjust roof parameters
After you’ve automatically generated your roof or drawn it manually, you’ll need to make a few small adjustments to make sure you have it exactly right. Check the menu on the right side of your screen when you’re in the Roof step. There, you will find tools to adjust roof height, angle, offset, and more. Click anywhere on the roof to adjust that particular part.
Step #6. Define edge parameters
Also on the right-hand side of your roof drawing screen, you will see a section that allows you to define the edge parameters of your roof. This is an important step in the process. Here, you define the ridge start, overhang, underside, and ridge valley of your roof using the intuitive built-in tools.
Step #7. Add exterior features
Even if you didn’t have the faintest idea of how to draw a roof online, you could still figure out how to add dormers, gutters, and downspouts in Cedreo. That’s because Cedreo makes it as easy as dragging and dropping. For example, find the Dormers tab, pick your style, drag it into place and make adjustments in the right-hand panel.
Step #8. Customize roof materials
What color will your roof be? And what will it be made of? Once you have the basic design and structure of your roof complete, these are the questions you need to ask yourself. Cedreo has tons of options for both materials and colors. Choose from shingles, tiles, corrugated metal, and more, and customize your color. Select the roof and find Covering on the left side of your screen. Choose your surface material, and customize the color in the right-hand panel.
Step #9. Visualize roof drawing in 3D
Your roof is done. Now, you’re ready to show it off. And Cedreo allows you to do so in stunning 3D. Throughout the roof drawing process, you can see how the roof will look in 3D by checking the 3D window. But when you’re done, you can generate a photorealistic rendering of your completed roof. Set the camera angle and lighting to get the rendering picture-perfect.
Draw Professional Roof Designs, Faster
Even if you know how to draw a roof manually — in other words, the old-fashioned way — that doesn’t mean you have the time or patience to do it. When you’ve almost finished an exciting new home design, the last thing you want is to spend hours trying to perfect the roof.
Why not spend minutes instead?
With online home design tools like Cedreo, you get roof drawing done in minutes, not hours or days. That’s valuable time saved — time you can use to close more deals, finish more projects, and ramp up your revenue. If that sounds like something you could get used to, try the leading roof design software today.

