How do You Make a 3D Floor Plan?
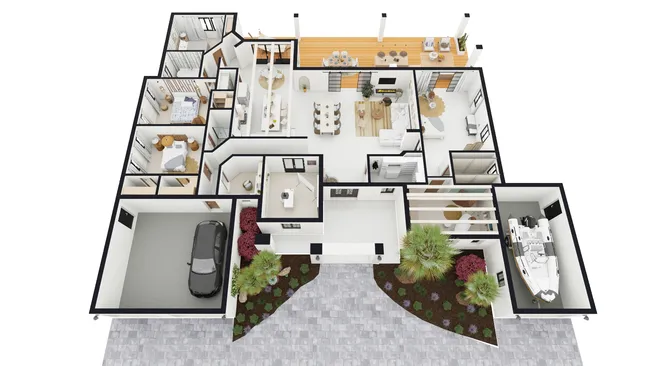
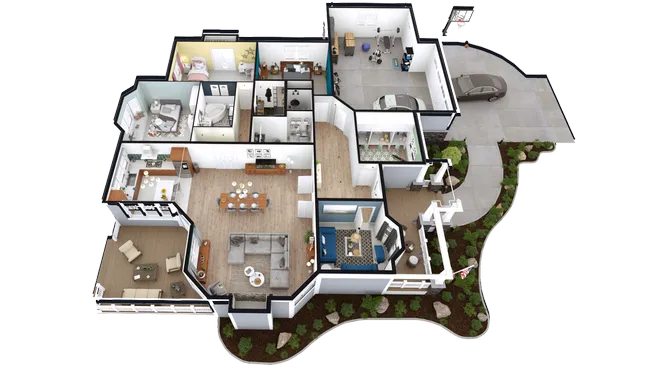
To make a 3D floor plan, you draw the home layout in 2D using floor plan software, then the software automatically generates the three-dimensional view. With a tool like Cedreo, professionals can create a complete 3D floor plan in about 2 hours.
This 3D perspective helps home builders, remodelers, and interior designers explain projects more clearly and lets clients visualize the finished result before construction begins.
Here is the step-by-step process to create a 3D floor plan:
- Draw the exterior walls and rooms. Start by drawing the ground floor layout in 2D, defining each room’s shape and dimensions. Most floor plan software lets you draw walls by clicking and dragging.
- Add additional floors. Once the ground floor is complete, add the basement, second floor, or additional levels as needed.
- Place windows and doors. Insert windows and doors into the walls, then customize their type, size, color, and opening direction to match the architectural style.
- Apply wall and floor finishes. Select wall coverings, paint colors, and flooring materials for each room. This step defines the design style and gives the 3D view its realistic appearance.
- Furnish and decorate. Choose furniture, fixtures, and decorative elements for each room to give a realistic impression of how the home will look when lived in. You can also add exterior elements like a pool, deck, patio, or landscaping.
Once these steps are complete, the software automatically generates the 3D floor plan, no additional modeling is required.
With Cedreo, cloud-based 3D floor plan software, professionals can complete this entire process in about 2 hours for a typical 3-bedroom house. Cedreo’s intuitive drag-and-drop interface requires no prior CAD experience, and the 3D floor plan is generated automatically from the 2D drawing.
The software includes a library of 10,000+ customizable 3D objects and materials, so designers can create polished, client-ready presentations quickly.