3D rendering offers a long list of benefits for interior designers, builders, and remodelers.
Renderings help clients envision what the final product will look like, evaluate different options, and make decisions they won’t regret. They’re a powerful lead generation tool, enabling design pros to showcase their work on social media, in visually-compelling ad campaigns, and on their website.
As a presentation tool, 3D renderings create an emotional connection that helps close deals. And they help clients and designers work together on a unified vision, ensuring that the final result is something all parties are happy with.
In this blog post, we’ll look at the key benefits 3D renderings offer, share some rendering examples, and walk you through the steps of creating one with Cedreo.
What is 3D Rendering?
3D rendering is the process of using 3D rendering software to generate photorealistic images of architectural concepts, interior spaces, and landscape design. Renderings help interior designers, remodelers, and home builders explain design concepts, collaborate with clients, market their services, and close deals faster.
Traditionally, builders and designers have outsourced 3D renderings, and a designer created them based on 2D blueprints. Today, housing pros have access to affordable 3D rendering software that brings this process in-house and allows them to generate, update, and customize designs in a matter of clicks.
Why is 3D Rendering Important for Home Builders, Interior Designers and Remodelers?
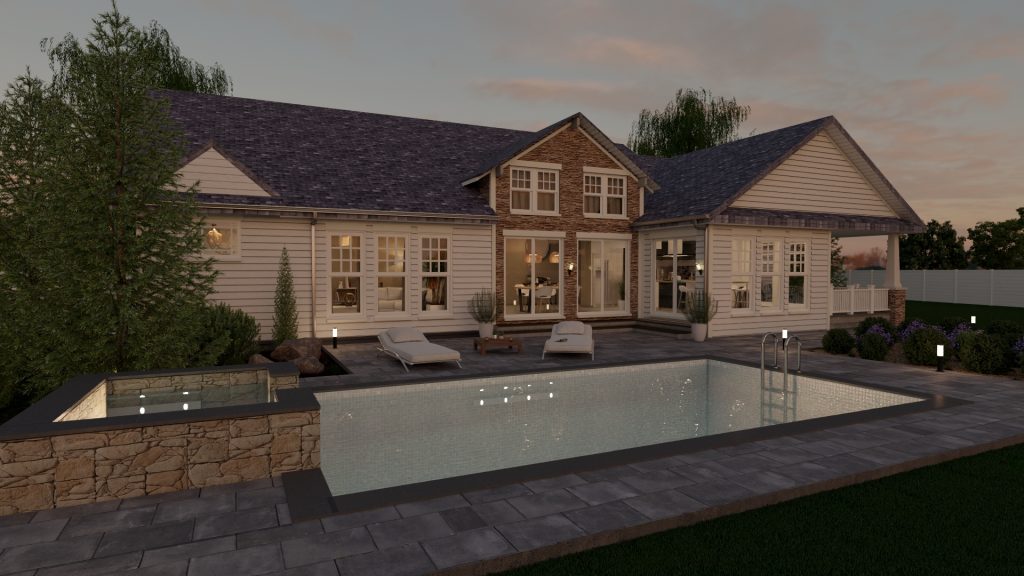
3D rendering is important because it brings projects to life, grounds complex concepts in reality, and helps clients envision the finished project. It communicates a creative vision in a way that 2D floor plans and spec sheets alone cannot.
While the benefits of 3D renders link back to the powerful effect of visuals on the human brain, their impact is far-reaching.
Here are just some of the many ways renderings help clients and housing pros alike:
Get real-time feedback
3D rendering offers better feedback for both builders and their clients.
In many cases, the professional can also see what the 3D visualization will look like as they’re drawing designs in 2D. For example, Cedreo allows users to get a 3D view as they draw in 2D, allowing them to quickly spot mistakes and work more efficiently.
On the client side, users can review the 3D design in progress and offer feedback on what they’d like to add, change, or remove. Pros can make updates on the spot, get client and stakeholder approval, and move to the next phase of the project.
You might also use 3D renderings as a collaborative tool during client meetings. Clients can ask to select different building materials, furnishings, home decor, and window placements. Then, adjustments can be made to ensure the design aligns with client expectations.
Create a competitive advantage
Taking a 2D floor plan and turning it into a photorealistic 3D rendering gives design pros a competitive edge from multiple angles. It helps them capture the attention of potential clients, makes it easier to explain how the building process works, and allows clients to visualize the end-result, thus supporting quick, informed decision-making.
Close more deals
While they may like to believe that their decisions are based in logic, the reality is, people buy based on emotion. For that reason, 3D rendering is a powerful tool in closing more deals.
The more you can help someone envision their dream product, the more likely they are to buy. That in turn, leads to shorter sales cycles and higher close rates.
Common 3D Rendering Use Cases
3D renderings can be used in a variety of ways to help designers, contractors, and builders showcase what their new or remodeled project will look like when it’s complete.
Here are some of common ways that design professionals use 3D rendering software on the job:
Architectural renderings
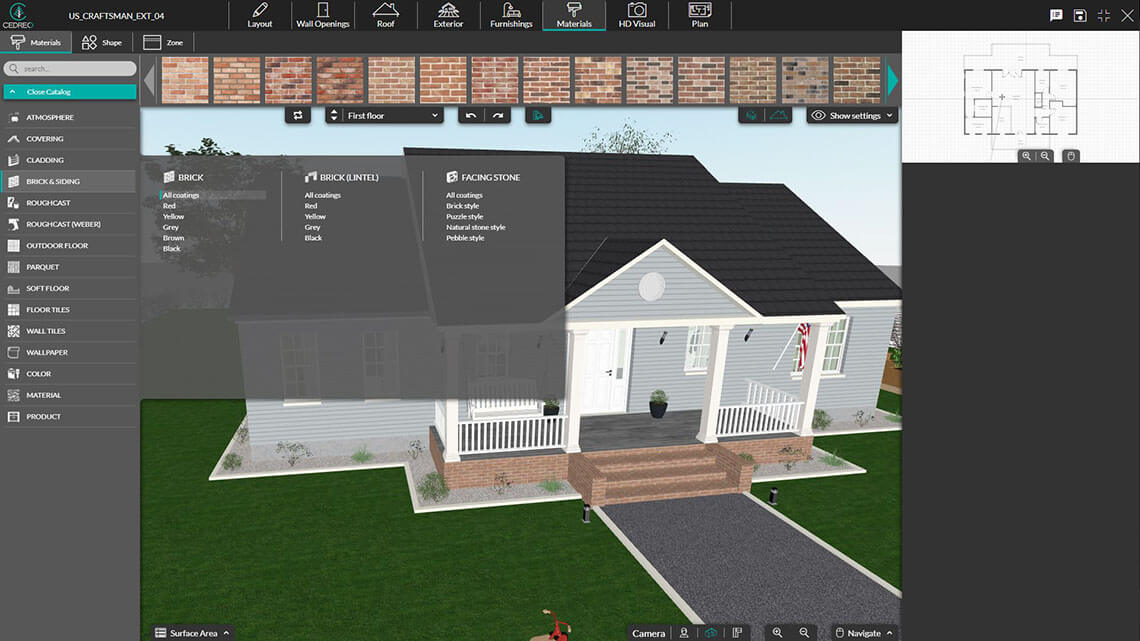
Cedreo’s 3D rendering software allows home builders, designers, and contractors to save money by bringing the conceptual design process in-house.
Users can generate photorealistic 3D renders of the exterior home and surroundings within minutes, with minimal 3D design skills.
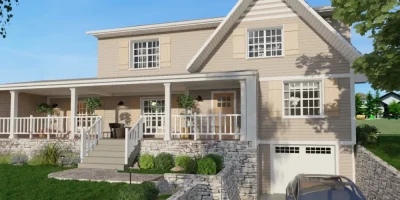
And, as you can see in the above example, users can easily change exterior building materials and features — siding, bricks, landscaping, hardscaping, and more.
Interior design renderings
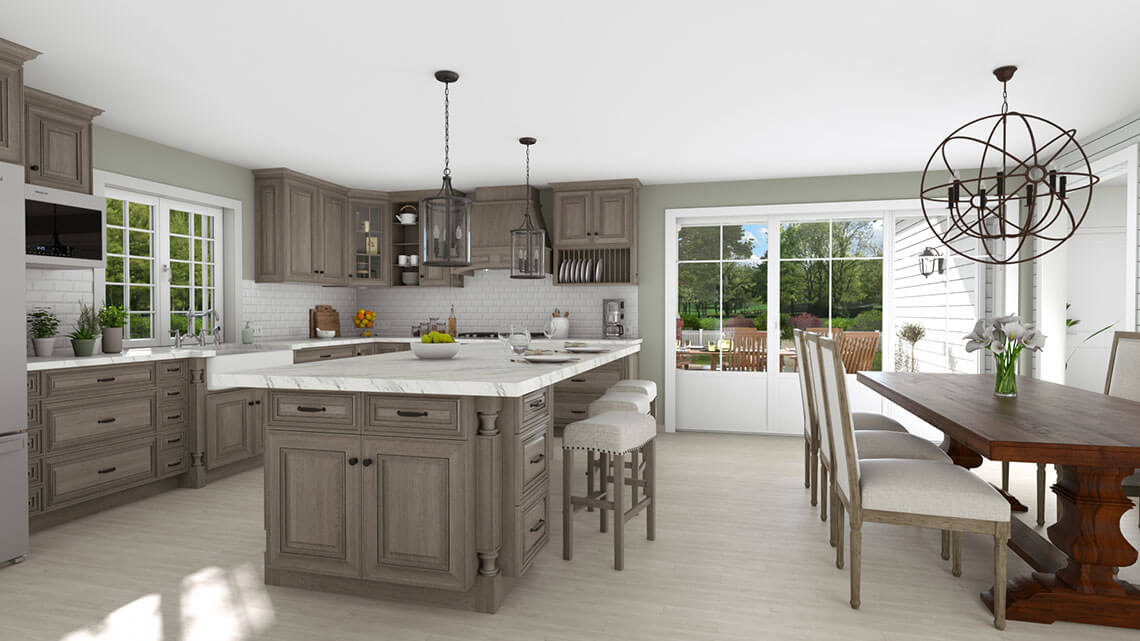
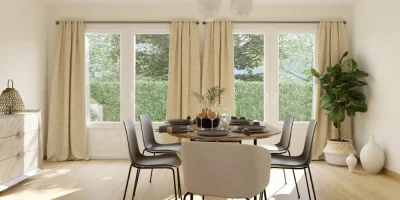
3D visualization software also allows users to generate 3D and HD renderings of the interior design, complete with building materials and furnishings. This allows you to customize projects for each client and collaborate on room designs that match their unique preferences and specifications.
For instance, if you look at the kitchen pictured above, a designer might present that idea to the client, then show them what it might look like with a different dining set, a brighter paint job, or tile flooring.
Floor plan renderings
Rendering software is also used to create 3D floor plans that help clients and other stakeholders visualize the layout of the proposed design.
Housing pros can create floor plans in 2D using a drag-and-drop editor, then convert the flat design into 3D. This makes it easier to present ideas, as clients can quickly understand how different rooms flow together and see how furniture placement, windows, stairs, doorways, and appliances fit into the mix.
Landscape design renderings
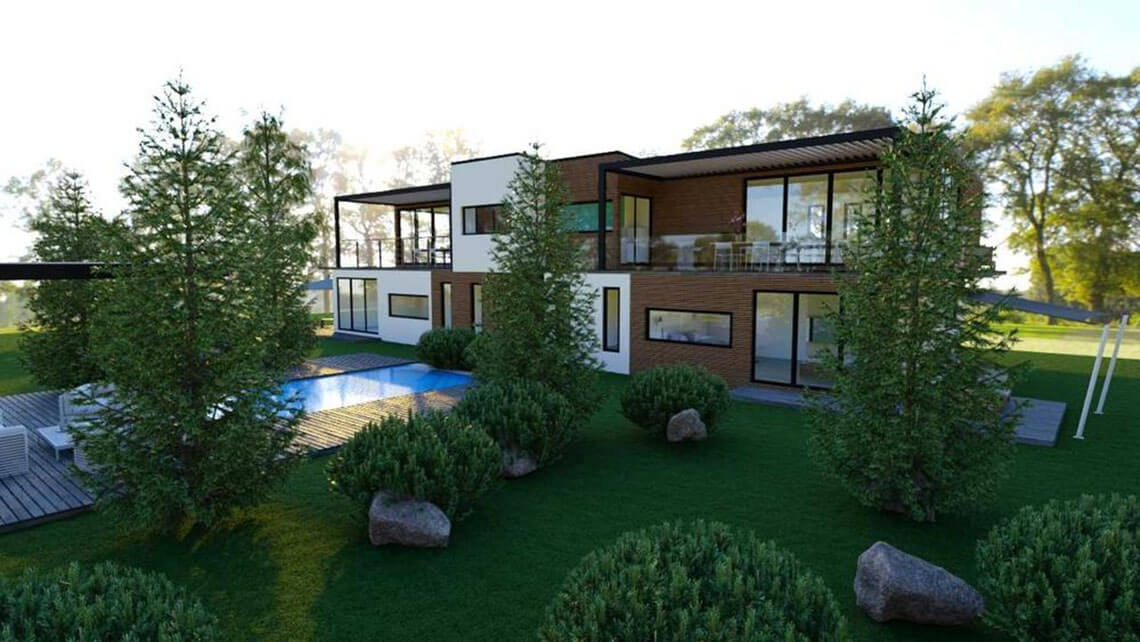
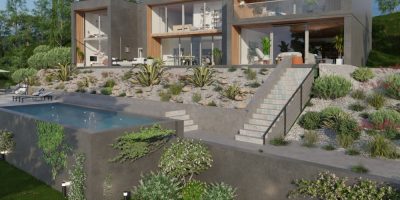
You can also use 3D rendering software for landscape design. Cedreo users can customize the front and back yards with gardens, pools, patios, terrain, and fencing — even grilling areas and outdoor furniture. You can save your designs and change details for new clients.
For example, you might share the above design with one client who rides a motorcycle and prefers a drought-resistant garden to a traditional lawn, then switch things up for the next person who wants to see raised beds or a couple of fruit trees. The point is, Cedreo users can easily customize the landscape and include the personal details that connect with individual clients on an emotional level.
9 Simple Steps to Create a 3D Rendering
While every software program is different, creating a 3D rendering typically consists of the same general steps. Below, we’ve outlined the process of how to make 3D renders in Cedreo based on the features included in the platform.
1. Draw or import floor plan
The first thing you’ll want to do is either import an existing floor plan (watch this tutorial to find out how) or draw one from scratch (we explain this in more detail in another recent blog post).
If you’re starting from scratch, you’ll want to first create a rough sketch of the proposed design. Generally, you’ll start with a basic shape — a rectangle or square — and split it into different rooms.
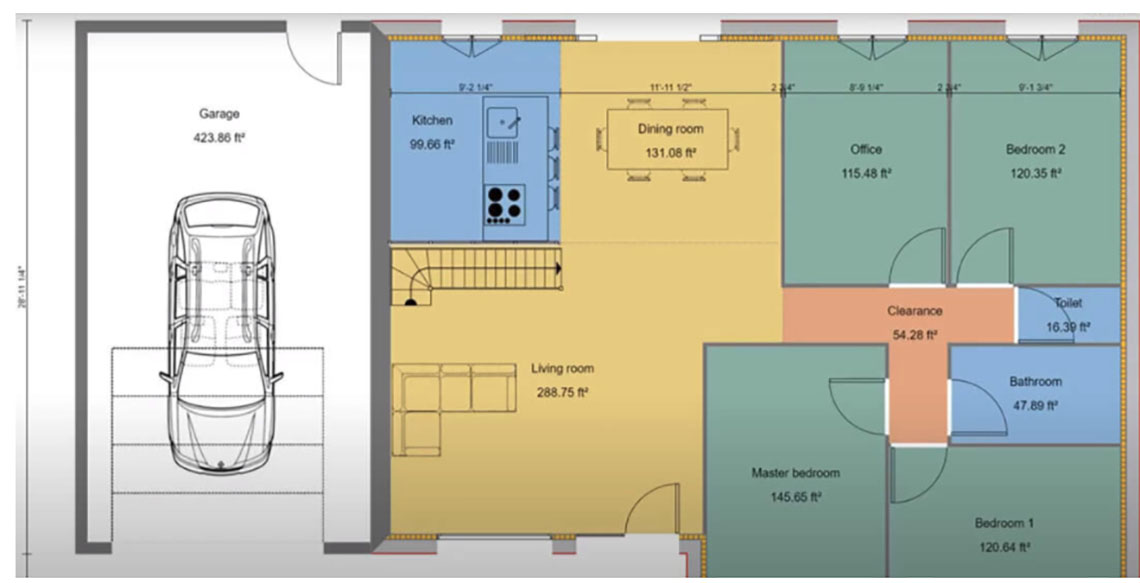
From there, you can make adjustments to the wall placement, scale, and room dimensions to meet client needs. Additionally, you can use Cedreo’s built-in architectural symbol library to add furniture, appliances, windows, doors, and more to create a more complete design.
2. Add a roof
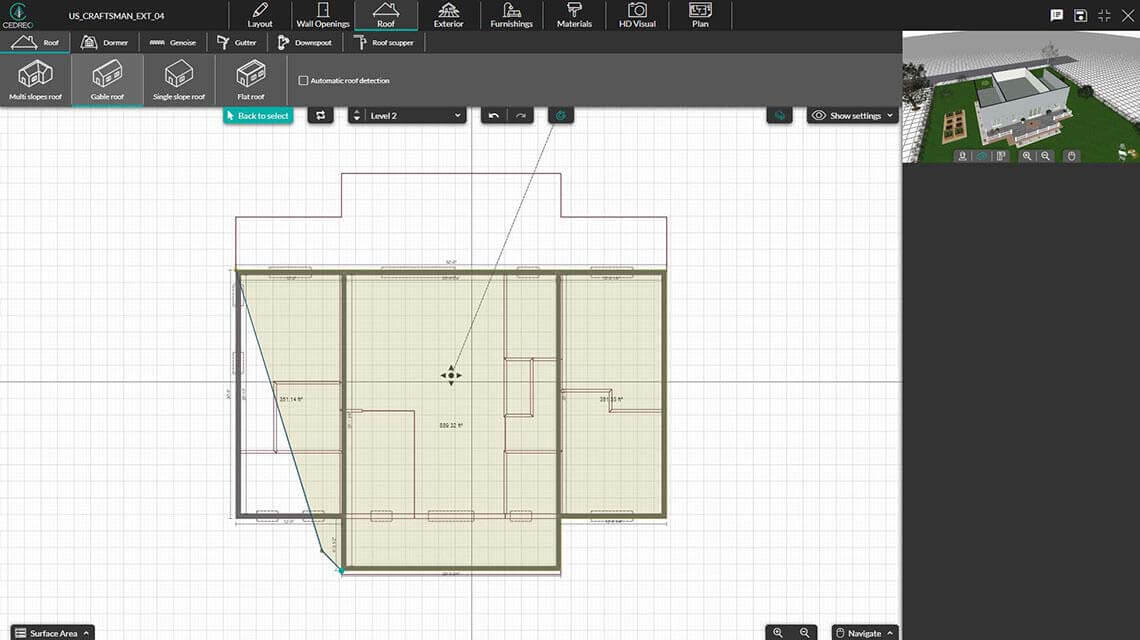
Inside the floor plan creator, you’ll also find the various elements needed to design a roof.
Simply select the roof type (i.e., gabled, single slope, multi-slope) and materials and insert it into the layout.
You can choose between manual or automatic detection — meaning, you can either trace over the floor plan point by point to create custom roofs:
Or if you only have one roof style, you can select automatic detection and the software will automatically insert the roof.
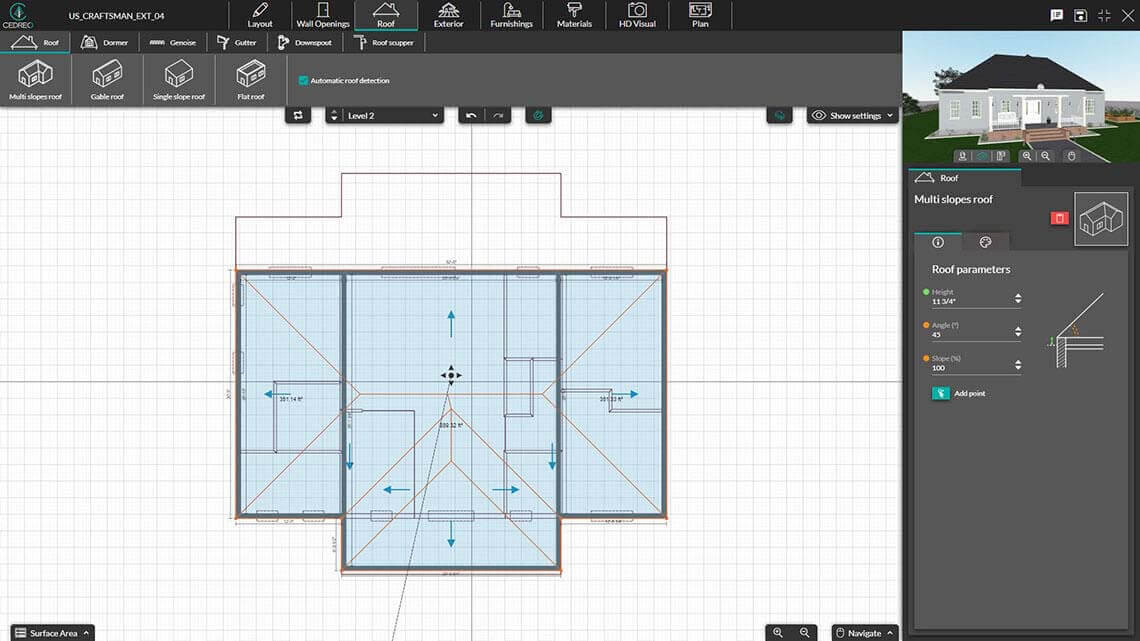
From there you can adjust the angle, slope, height, and more in a matter of clicks.
3. Customize exterior home materials
Next, you’ll want to customize exterior home materials like siding, brick, and cladding.
Select “materials” from the top navigation bar, then choose from the list of options featured in the menu on the left side of the screen.
4. Select interior atmosphere
After you’ve finished the outside, you’ll want to choose an interior atmosphere.
Cedreo offers pre-made interior atmospheres — charming, contemporary, etc. — to help you define the mood of a particular project.
5. Furnish and decorate
Next, you’ll want to access Cedreo’s 3D furnishing library, where you’ll find over 7,000 pieces of furniture, textures, decor, and materials.
Streamline the process by selecting coordinated collections of accessories or furniture, or pick the pieces individually.
6. Add exterior elements
Once you’ve finished decorating the interior, it’s time to add the final touches to the exterior. In this case, we’re talking about decorative elements like plants, fencing, pools, and patios.
Exterior elements can also be found inside the Cedreo catalog, only you’ll select “outside” from the menu rather than “kitchen” or “bedroom” to access specific collections. You’ll also have the option to select elements from the vegetation, sports/hobby amenities, and garden/deck categories.
7. Configure environment settings
The next step is configuring your rendering environment, which is all about lighting and sun orientation and how they impact both interior and exterior designs. You can choose between automatic sun orientation or set it manually to a certain season and time of day.
Select “HD visual” from the top navigation bar, then “rendering.” There, you can select a background, sun configuration, and outdoor lighting.
8. Set viewpoints
Next, you’ll want to set and save viewpoints, which will allow you to create designs from different perspectives without having to reposition the camera for each new 3D rendering.
This video walks you through the process but as you can see below, saved viewpoints allow you to look at each design from say, the front and back, at different times of day, or at specific rooms.
9. Generate HD visualization
Finally, you’ll generate an HD visualization to save your work — a photorealistic interpretation of the design that will be used to sell the project.
Once you’re happy with your design, simply select “HD visual” from the top navigation bar, then click “ask for a rendering.”
Within a few minutes, your 3D visualization will be added to the gallery, where it can then be downloaded and shared.
FAQs
How long does 3D rendering take?
If you’re using 3D rendering software, it should only take a couple of hours to put together a design, though it also depends on whether you’re working from an existing floor plan or starting from scratch.
Who uses 3D rendering?
3D rendering software is used by interior designers, builders, architects, remodelers and real estate agents. Professionals use 3D visualizations as a sales and marketing tool, an affordable conceptual design solution, and to collaborate with clients and colleagues on projects.

